How to Start an Apartment Renovation Project? Part 1: Big Dreams
Where do we even begin a studio apartment renovation process?
Where do we even begin a studio apartment renovation process? That’s the question we asked ourselves as we stood in the middle of our tiny, outdated studio apartment, surrounded by swollen furniture, yellowing walls, and a wooden window decoration that had definitely seen brighter days. The space was tired. But our vision? Wide awake.
In case you’re new here — we just bought a small studio apartment that someone else used to live in, and I’m documenting our entire renovation journey from scratch.
Each week, I’m sharing the real-time progress of our tiny home makeover — from layout plans to design dilemmas — through the lens of an architect (who’s also on a budget). You can catch up on all past entries in our renovation diary here and follow along as we turn this little flat into a minimalist home.
What You’ll Learn in This Post
If you’re wondering how to start an apartment renovation project, this week’s update is for you. I’m walking you through:
- What to figure out before you pick up a paintbrush
- How to define your renovation goals like a designer (even if you’re not one)
- Setting your timeline and budget realistically (and why we gave ourselves 3 months—optimistic, but motivating!)
- How to begin thinking about design before you fall into the Pinterest rabbit hole
This isn’t just our story—it’s also a step-by-step you can adapt to your own space, with insights from my architect’s point of view.
Short content overview:
- Where do we even begin a studio apartment renovation process?
- Mini recap of our studio apartment renovation diary
- Our renovation goals – Setting the foundations
- Tools & planning for turning vision into a plan
- What I learned and surprised me!
- Architect’s helpful tips for small space renovation
- How to start a DIY budget renovation?
- Waht’s next?
- Takeaway
Mini recap of our studio apartment renovation
Our hidden treasure:
A one-room attic apartment with slanted ceilings, strange wooden cladding, and zero natural flow, visible water damage on the walls. I hadn’t even stepped inside yet—but I knew it could become something special.
And just like that, we became the proud owners of a tiny space that would soon become our biggest project of the year: a full studio apartment renovation, from the floorboards to the light switches. DIY style, budget-conscious, and completely hands-on.
Here is the main hub for our Studio Apartment Renovation Diary – if you wish to take a look on the project in details, or other entries.
And now finally, let’s start our studio apartment renovation project, welcome to part 1!
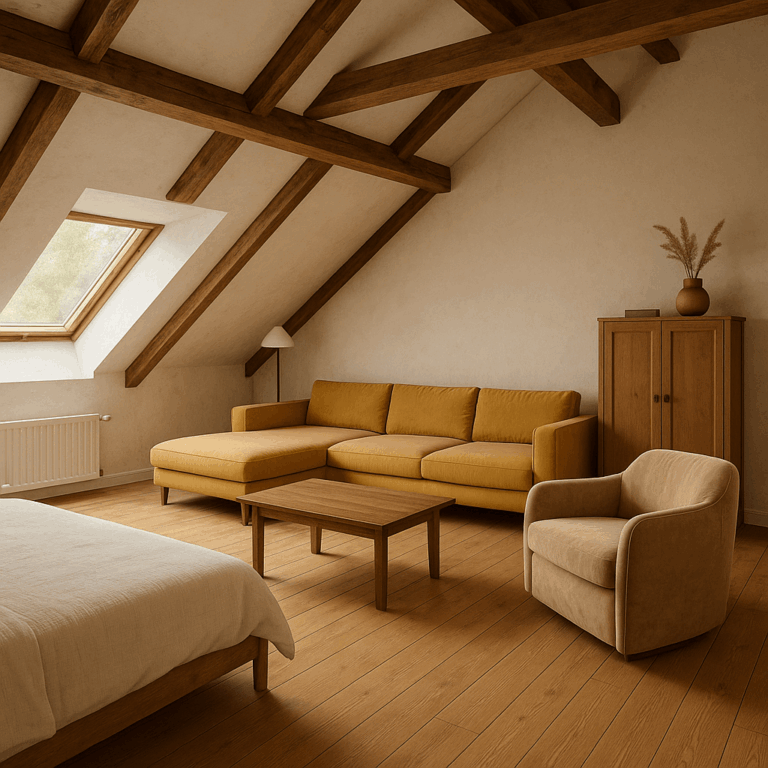
This was the ‘before.’ The ‘after’ still lived in our heads.
Our Renovation Goals — Setting the Foundation Before Anything Else
This week, we sat down and asked ourselves the big questions:
– What do we want from this home?
– How should it function, feel, and flow?
– What’s realistic in terms of time and money?
We knew early on that this studio apartment renovation had to be more than cosmetic. So we listed the essentials:
- Replace the cladding and old pavements
- Remove that strange wooden decoration next to the window
- Paint every wall (bright, fresh, clean!)
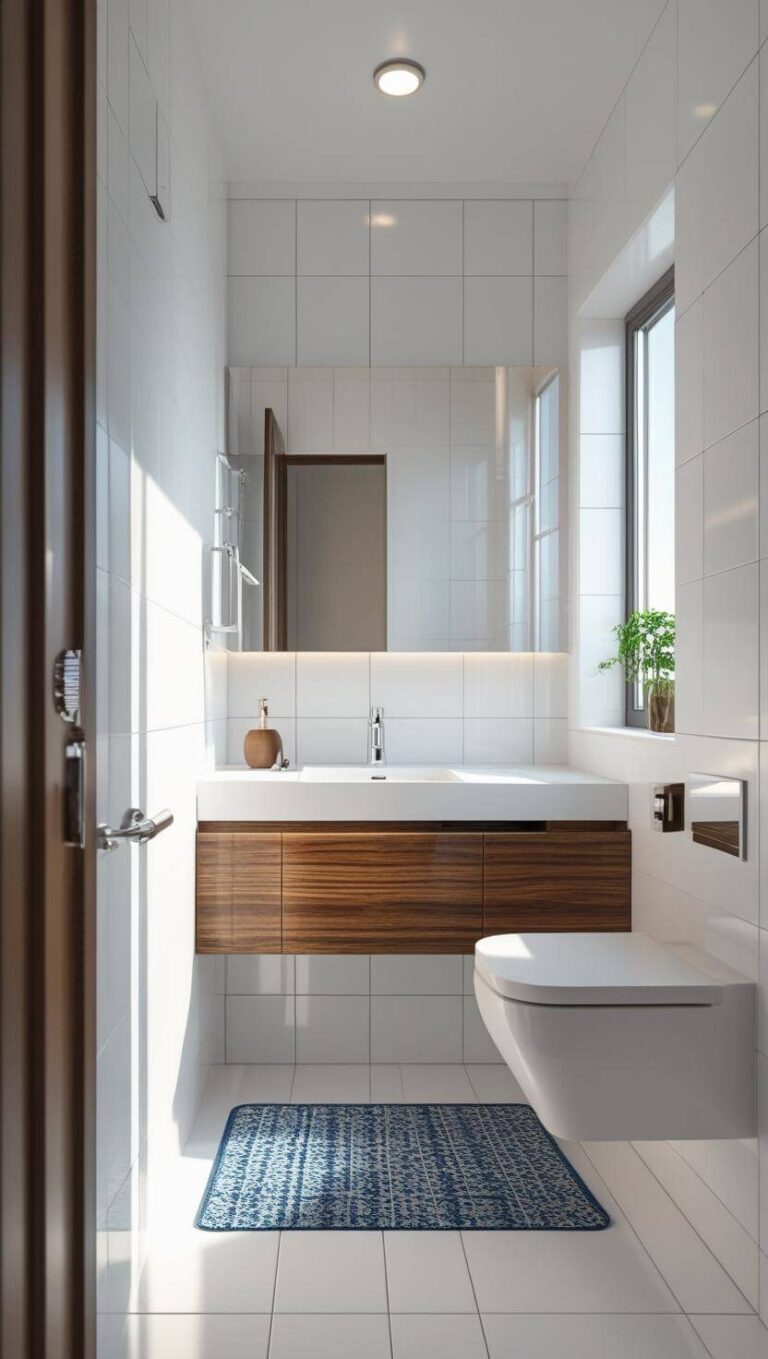
- Modernize the bathroom and upgrade the fixtures
- Install a fully functional, compact kitchen
- Buy quality, low-maintenance furniture—on a budget
We wanted durable materials, clean lines, and a look that would age well. But we also needed to keep costs low, and make it easy to clean—because a tiny space can become chaotic fast.
Pinterest is fun. But vision comes first.
So we did what I always recommend:
Start with a vision before you start with Pinterest.
Instead of pinning blindly, we found 3–5 words to guide the mood of the entire home.
Ours were:
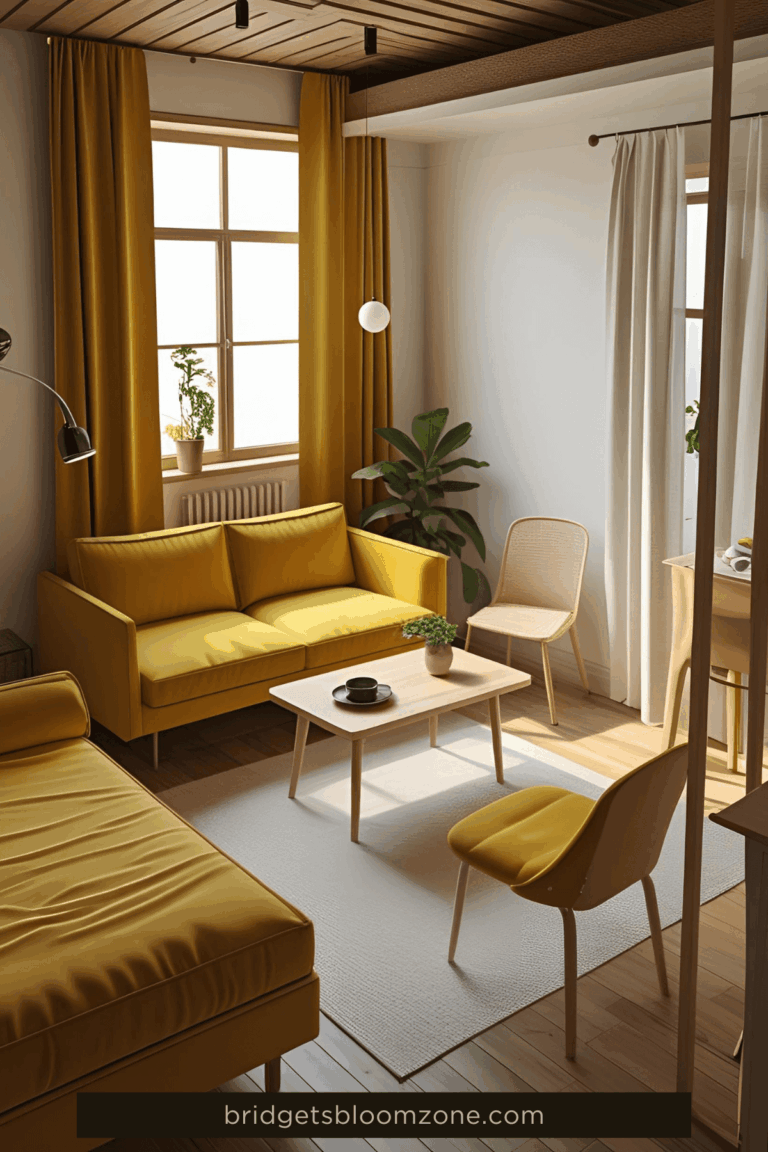
→ Simple. Smart. Funny. Cozy.
Architect’s Advice: Create a Mood Plan First
Instead of collecting endless images, try this:
Write down how you want your space to feel:
→ Peaceful? Functional? Bold? Flexible?
This emotional anchor will guide every decision—from layout to lighting.
Ours? Simple. Smart. Funny. Cozy.
What’s yours?

This way, every decision—from tiles to textiles—would support a cohesive, intentional feeling.
I love minimalism, but I am on the loose side of it, if something like this exists. I love white walls and simple design, I have the barely minimum staff – but still I think the places don’t have to be super clean, super geometric and super empty.
I love colors, and I believe that with colors much more characteristic spaces can be created. And sometimes comfortable furniture does not look minimalist. So, this is what the word *funny* stands for.
What words would define your dream home?
Set limits! Budget and deadlines
Then came the logistics: we measured the whole flat, estimated a maximum budget, and set a tight deadline:
Three months to a finished space.
Was it ambitious? Absolutely. But sometimes a bold goal is the only way to avoid endless delays. My fiancé and I both have our workplace, we have quite a big garden with 40 fruit trees (most work has to be done in these 3 months….) and to save cost, we plan to do everything by our hands that we can.
3 months, 2 people, 1 hammer. What could go wrong?
Tools & Planning – Turning Vision Into a Plan
Once the goals were clear, it was time to turn ideas into something we could actually build.
That starts with one simple, not-so-glamorous step:
Measure everything and document the existing.
(And I mean everything—even the doors and windows. Don’t forget: measure wall thickness! I always forget about it, but it will be REALLY helpful.)
We mapped out every wall, window, and socket. Why? Because in a studio apartment renovation, every centimeter counts.
As an architect, I usually work with pro design software—tools that let me build the 3D model of the apartment, draft layouts, test material combinations, and simulate daylight flow.
But for non-architects starting their own apartment renovation process, there are great free tools out there that make planning simple and visual. (I’ll include a why these are my favorite free options at the end of the post! No affiliate links, just my personal recommendation.)
Top Tools for Small Space Layout Planning
No need to be a pro. Try these beginner-friendly layout tools:
- HomeByMe – Great for realistic 3D visuals
- Floorplanner – Simple drag-and-drop planning
- Pen & Paper – 1 cm = 1 m, and you’re good to go!
Want layout tips tailored to small rooms? Don’t miss my post on Small Room Furniture & Design Tips.
How to start to design the new layout?
The most important thing here is this:
Work on the apartment as a whole—don’t design one room at a time.
Your space is one connected experience, not a collection of Pinterest boards. That’s why we worked from a top-down perspective, deciding early on what kind of atmosphere we want the entire flat to have.
Here’s what helped us stay focused: Mood-mapping our design direction.
We asked:
- How should this space feel in the morning?
- How we want to use this space?
Where will we spend most of our time? - What would make our life easier here?
Our answers led us back to our 4 design words:
→ Simple. Smart. Funny. Cozy.
That became our north star—and honestly, it helped filter out a ton of distractions.
What is important for you? Do you know how your space feels in the morning?
What I’ve Learned? What Surprised Me?
Honestly? I thought the first week would be easy. Measure the walls, map out a few layouts, maybe even get to some fun moodboarding. But instead, what hit me most was a strange kind of pressure — not from the scale of the project, but from the finality of every tiny decision.
This is happening for real!
It surprised me how suddenly real it all felt. Where should the sockets go? What if we put the light switch too far from the bed? I plan these things for other people all the time — but now, it’s our home. The stakes feel higher. I kept catching myself overthinking things I normally breeze through.
And I’ll admit: I also forgot to measure the wall thickness at first. Classic. Even as an architect, I need those little sticky notes on my clipboard.
Stay focused
The biggest shift for me this week was remembering to zoom out. Yes, precision matters — especially in a small apartment renovation, where every centimeter matters. But this early stage isn’t about having every answer. It’s about setting up the questions, testing the feel of the space, and knowing that things will shift again. And again.
If I had to sum up this week’s realization in one sentence? Designing your own home is 80% logic, 20% panic — and you have to make space for both.
But, like mentioned before: our 4 words, our North Star of the project, have shown the path we aim for, and helped to stay true to our vision in the beginning.
Common Mistakes to Avoid in Week 1
- Skipping proper measuring, including wall thickness.
- Designing rooms separately, not as a whole.
- Ignoring light sources when planning layout.
- Forgetting future needs like outlets, space for your hobbies.
How to start a DIY budget renovation project?
Set up a system and organize everything from Day 1.
Plan in advance and do your research!
We use a shared Google Drive folder with separate sheets for measurements, links, material lists, and even a little section just for Pinterest images. It keeps the chaos at bay — and trust me, the chaos will come.
Bonus tip: Use Google Sheets to track your renovation budget and wishlist — measurements, materials, product links, and budget notes. Not pretty, but priceless. You can track all your ideas, furniture choices and everything in a Google Sheets, estimate costs and all sorts of things.
I’ll share our exact template in my post about Week 3 – The apartement Renovation Budgeting.
What’s Next?
Next week, I’ll be diving into layout planning in detail—how we tested furniture arrangements, created multiple versions of the floor plan, and finally landed on a design that fits both our lives and our space. (Spoiler: it involved some serious compromise and a few surprise wins.) Stay tuned!
Takeaway – Last Thoughts on Starting a Studio Apartment Renovation
Architect’s Angle
This week, I approached the space planning through my architectural lens—where form meets function, especially in compact living environments. The design choices you see are part of my ongoing process of experimenting, problem-solving, and exploring what’s possible in small spaces.
A Friendly Note
Disclaimer: The content shared here is for entertainment and inspiration only. It is not professional design advice, and nothing presented forms an architect–client relationship. Every project is unique—if you’re planning a renovation or design, please consult a licensed architect or designer for tailored guidance. And if you’re modifying furniture or structures, always prioritize safety and proceed at your own risk.
Follow my studio apartment renovation diary!
Have you ever reimagined a small space—or dreamed of doing so? What’s your biggest challenge with compact living? Drop a comment below, pin your favorite idea, or explore more over on the Small Apartment Design Diary. Let’s design smarter, together.
Save This Post: Your Starter Guide for Studio Renovation
- This post covered:
- Defining your renovation vision
- Setting goals and limits
- Starting your layout planning
- Smart tools for small spaces
- Personal lessons from Week 1
Up next: Layout planning, furniture testing, and making the most of 16 m²!
Pin this for future reference!
What’s the hardest part of designing your own space? Let me know in the comments!